目录
本教程教大家如何使用image_picker获取相机图片。
可随意转载!
创建项目
命令行执行以下命令:
flutter create -a java -i objc ability_image_picker创建flutter项目,并且指定Android平台的编程语言为Java,iOS平台的编程语言为Objective-C。
打开Android Studio,选择Open an exist Android Studio Project
配置项目
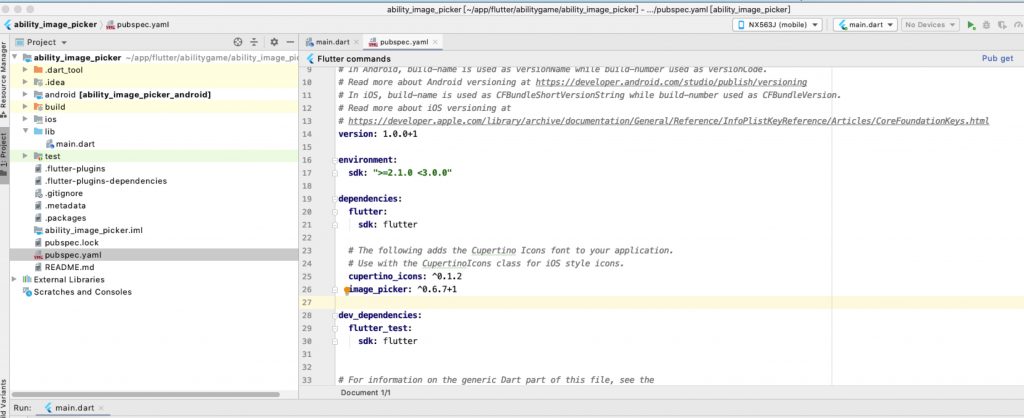
编辑flutter配置文件pubspec.yaml ,如下图:
编写代码main.dart
1. import 依赖包
import 'dart:async';
import 'dart:io';
import 'package:image_picker/image_picker.dart';
2. 定义类变量
  File _image;
  final picker = ImagePicker();
3. 定义获取系统图片函数
设定image来源为ImageSource.camera (相机)
  Future getImage() async {
    final pickedFile = await picker.getImage(source: ImageSource.camera);

    setState(() {
      _image = File(pickedFile.path);
    });
  }
扩展阅读:ImageSource类定义:
/// Specifies the source where the picked image should come from.
enum ImageSource {
  /// Opens up the device camera, letting the user to take a new picture.
  camera,

  /// Opens the user's photo gallery.
  gallery,
}
它有两种类型:一种是打开相机;一种是打开相册。
4. 定义flutter的UI函数
@override
Widget build(BuildContext context) {
return Scaffold(
appBar: AppBar(
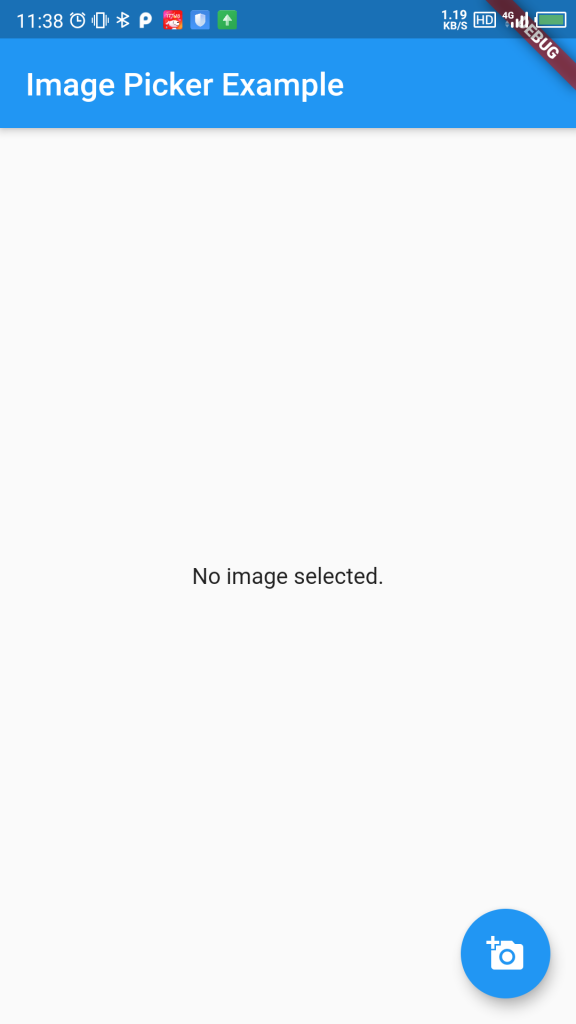
title: Text('Image Picker Example'),
),
body: Center(
child: _image == null
? Text('No image selected.')
: Image.file(_image),
),
floatingActionButton: FloatingActionButton(
onPressed: getImage,
tooltip: 'Pick Image',
child: Icon(Icons.add_a_photo),
),
);
}真机调试
机型适配问题
无,适配所有Android和iOS机型